15. Virtual Machine Intro
Your Cloud Workspace
You should only complete this section (and the following) if you were unable to get setup locally on the previous page.
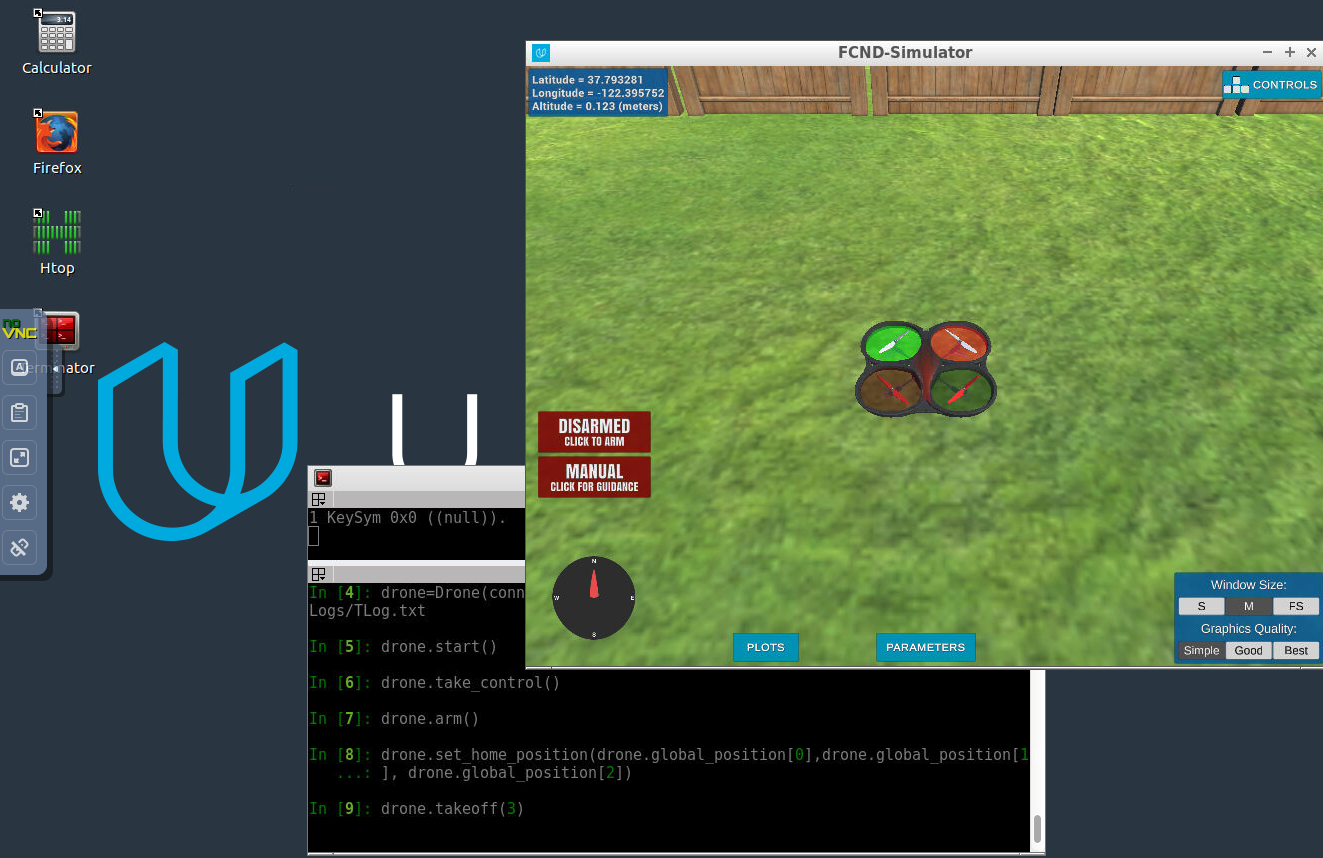
Udacity Cloud VM
For this project, you will have the option to complete all of your work in a cloud-based GPU supported virtual machine (VM) right in the Udacity classroom! Graphics rendering in the VM seems to work best for internet connections faster than 10Mbps, so if you're on a good connection we highly recommend checking it out! You can test the speed of your connection by going to fast.com. Then simply follow along with these instructions for getting started and you'll be up and running in no time with your new VM.
Work on your local machine
If you would prefer to complete the project on your local machine, then you can skip back to the instructions for local setup.
VM Setup Instructions
The workspace VM is already setup with Python and the simulator for the Backyard Flyer project. If you run into any problems with using the VM please file bugs, suggestions and grievances in the waffle board.
When you click "Next" at the bottom of this page to advance to the Backyard Flyer project in the classroom you'll first see a popup asking if you want to enable GPU mode. Choose "yes".
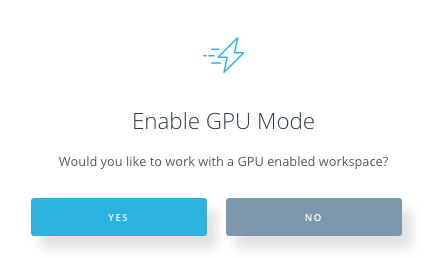
Next, your workspace will be configured and you'll land in a development environment that looks like this:
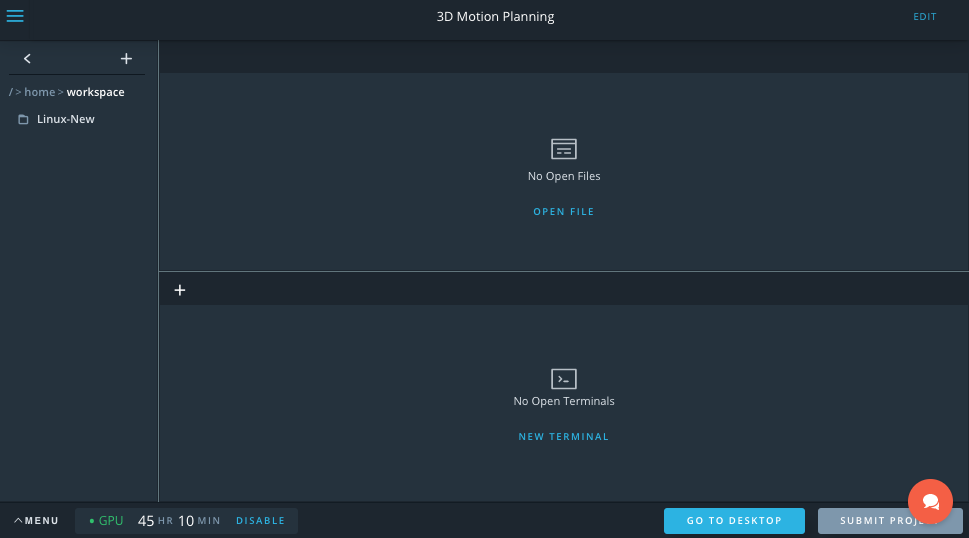
Click the button in the lower right that says "GO TO DESKTOP" and you'll launch another browser window, where you'll land at the desktop of your Linux VM that looks like this:
(Note: the VM currently does not work with Safari, please use Chrome or other browser)
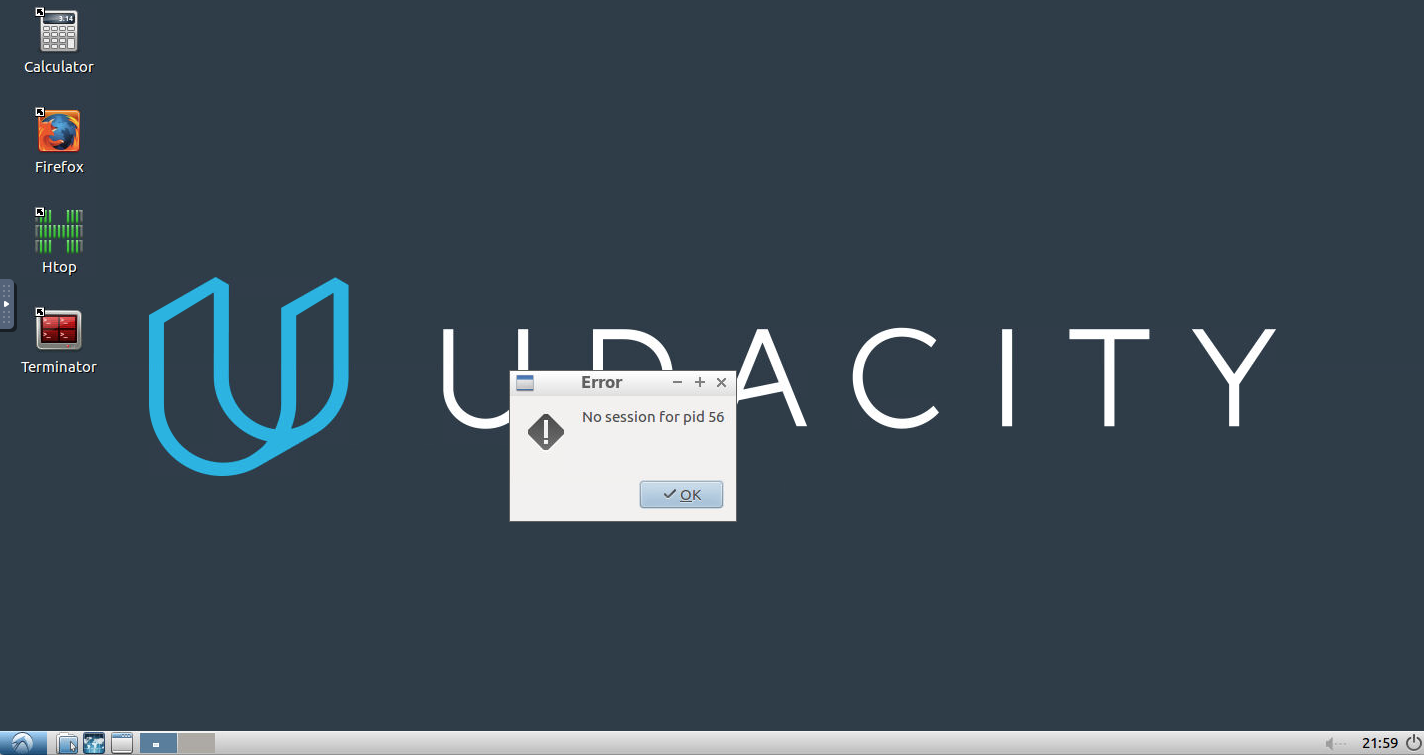
Don't worry about the error message, it's harmless, just click "OK". Next, double click on the "Terminator" icon on the desktop to open terminal. In the terminal you need to issue 3 commands:
cd /home/workspace/linux-64bit/
./FCND-Sim_Linux_64-bit
** How to copy/paste: **At this point you may be wondering how to copy and paste between your local machine and the VM! It's a bit cumbersome unfortunately, but here's how it works:
- copy text on local machine
- open the side-bar menu at the left side of the VM desktop
- click the clipboard icon and paste text in there
- use
ctrl-shift-vto paste into terminal (orctrl-vto paste into Firefox browser)
Reverse these steps to copy/paste from the VM to your local machine.
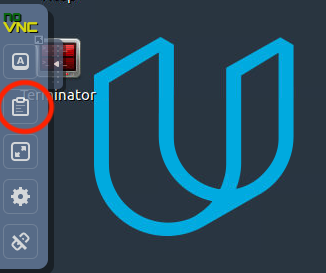
If the above method proves too cumbersome, as long as whatever you want to copy/paste is online, you can also just open up a browser (Firefox) in the VM and navigate to the material you want to copy / paste.
After issuing those commands, your simulator should launch! Now your desktop will look something like this:

Click the button in the simulator that says "Click to Arm" and try some manual flying to explore this new environment. Click the "Controls" button in the upper righthand corner of the sim to get a reminder of keyboard and mouse functionality in manual mode.
If all of this works, you're ready to move on to testing autonomous flying and planning in this new environment. In a new terminal, run the following commands to clone the project repository into your /home/workspace directory:
cd /home/workspace
git clone https://github.com/udacity/FCND-Backyard-Flyer
Next, activate the fcnd conda environment by typing source activate fcnd and then python at the prompt. You should now be running Python 3.6 in the fcnd conda environment.
source activate fcnd
python
With that you have everything you need to complete this lesson and the Backyard Flyer project right in your browser. Keep your workspace desktop environment open in one tab and in another tab, head back to Simulator Exploration Tutorial to get familiarized with the simulator and supporting code. Or if you're ready to complete the project, you can move on to the instructions for completing the project.
Submitting your project through the workspace VM
When you're satisfied with your solution, you can submit your project directly through the VM workspace. The way this works is that when you click "Submit Project" in the workspace IDE, everything in your /home/workspace folder will be zipped up and submitted. So the first step is to move everything you do not want to submit out of the /home/workspace directory.
The one thing you absolutely must remove from /home/workspace is the simulator (with the simulator the submission would be too big and fail to go through). You can temporarily move this to /opt while you submit your project.
cd /home/workspace
mv FCND-Sim-Linux /opt
Next, move any other files or folders you do not intend to submit out of /home/workspace and then click the "Submit Project" button at the lower right in your workspace IDE (note: not in the VM desktop environment, but next to the "Go To Desktop" button on the IDE page).
When you have finished submitting, move any files you want to keep, including the simulator back into /home/workspace so they will be saved for your next visit to the VM.